


October 31, 2010
October 25, 2010
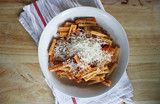
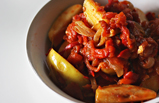
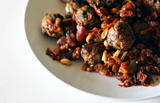
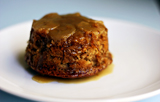
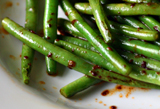
raviules
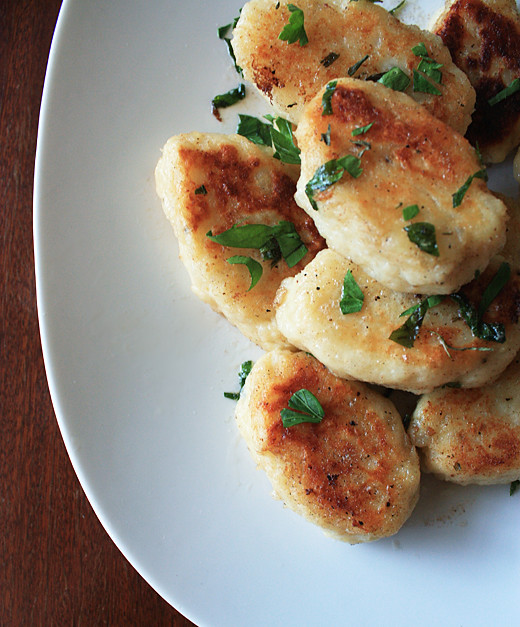
I'm not going to pretend I had any idea what raviules were before I saw them in an issue of Australian Gourmet Traveller, but as soon as I saw the photo of them, I knew they had to be mine. They are, according to AGT, "essentially a French version of gnocchi." I have no idea to pronounce "raviules," either, so I find it easier just to call them tasty potato friends.
I wasn't making these for a special occasion, but they're absolutely dinner-party worthy. They'll require some last minute frying, but if you don't mind that, then it's easy to prepare them to either one of two stages in advance: after the shaping, when they can be refrigerated quite happily (and I think the fridge time helps firm them up, ready for boiling), or after the boiling, though they shouldn't be refrigerated at that point. So you could even mix and shape them the day before, boil them in the afternoon, and quickly fry them (a 10 minute job at most) right before you serve.
The recipe calls for chervil, which I couldn't find in either fresh or dried form at any of the 3 grocery stores I tried. I used fresh flat leaf parsley and a little tarragon instead. Plain parsley would be fine, but the aniseed flavour of the tarragon lended that extra chervil-like something.
Raviules
adapted from Australian Gourmet Traveller
500g Sebago potatoes (about 4), unpeeled
1 egg
50g plain flour, plus extra for dusting
4 garlic cloves, finely chopped
11g butter, coarsely chopped
1/4 cup loosely packed fresh flat leaf parsley, loosely chopped
a handful fresh tarragon leaves, or 1 tsp dried tarragon leaves
salt and freshly ground black pepper
Preheat oven to 180ºC / 360ºF. Place unpeeled potatoes in a roasting pan and roast until tender when pierced with a skewer (40-45 minutes). When cool enough to handle, cut potatoes in half and scoop out the flesh. Pass through a ricer / food mill into a large bowl, or mash very thoroughly. Add egg, flour, and one crushed garlic clove, season to taste and knead lightly until smooth. Shape mixture into quenelles and place on trays lined with baking paper. Refrigerate until ready for the next step.
Cook raviules in a large saucepan of boiling salted water over high heat until they rise to the surface (1-2 minutes). Remove with a slotted spoon, drain well, set aside and keep warm.
Heat butter in a large frying pan over medium heat until nut brown (3-4 minutes). Add raviules and stir to cat, then saute, turning occasionally, until golden brown (2-3 minutes each side). Add remaining garlic, parsley and tarragon, stir to combine, and serve immediately.
October 16, 2010
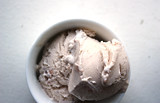
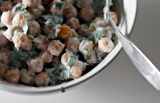
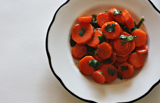
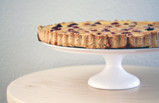
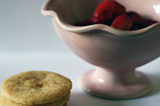
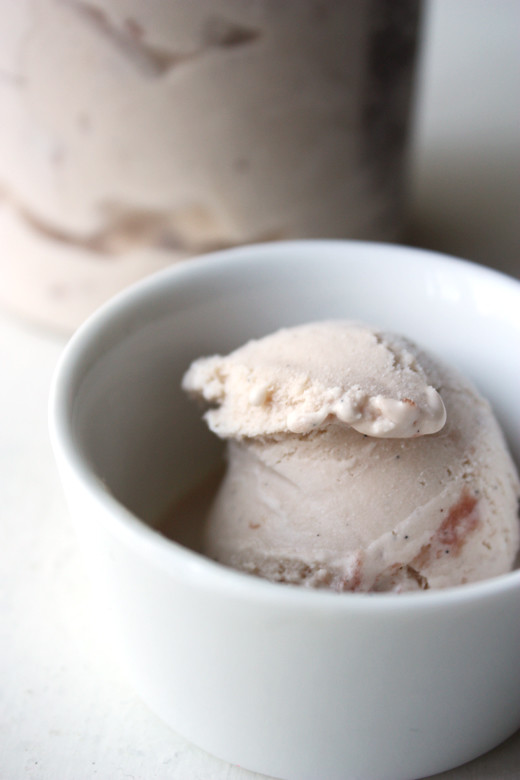
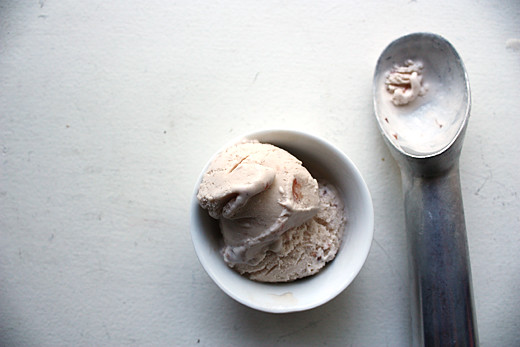
strawberry jam ice cream

Strawberry jam ice cream: pretty pretty pretty. And sweet in just the right subdued kind of way. It's lovely as a scoop on its own, and amazing mixed with meringue and raspberries. You MUST use homemade or good quality store-bought jam - the kind with chunks of fruit in.
strawberry jam ice cream
strawberry jam ice cream
from Simon Hopkinson, Week In Week Out
300ml full fat milk
1/2 vanilla pod, split lengthways*
4 egg yolks
250ml double cream
150-175g strawberry jam (homemade or quality store-bought)
Place a large metal bowl in the freezer (or at least the fridge). Gently heat together the milk and vanilla pod in a solid-bottomed pan. As it comes to the boil, give it a whisk so as to disperse the vanilla seeds into the milk. Cover, and leave to infuse for 20 minutes. Beat the egg yolks with a fork in a small bowl and then mix in a little of the milk to loosen them. Add this to the vanilla-milk mix, whisk together and then cook over a very gently heat, constantly stirring with a wooden spoon, until the mixture has lightly thickened - do not allow it to boil. Take the chilled metal bowl from the freezer (or fridge), pour the mixture into it, and whisk thoroughly to cool quickly. Now whisk in the cream. Stir in the jam, pour into an ice-cream machine, then churn and freeze according to the manufacturer's instructions.
* Because I can't afford to use a vanilla pod for every recipe that calls for one, I buy Nielsen-Massey's pure vanilla bean paste. In this recipe, I used 1/2 tsp. You could use a good quality vanilla extract, but the paste includes the seeds, which I think are crucial in a good custard.
October 10, 2010
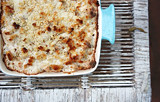
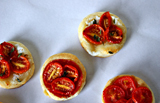
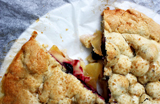
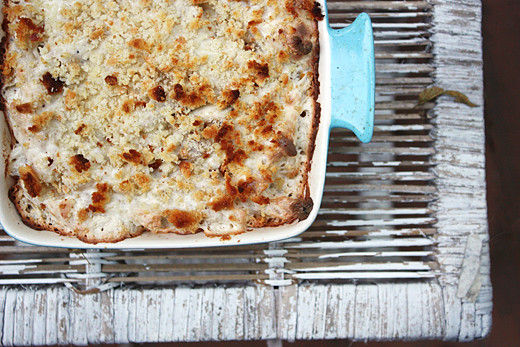
mustard & fontina macaroni cheese
Nigel Slater, in his 'Kitchen Diaries', cooks the way I'd like to: seasonally, spontaneously, depending on what he finds at the market or in his back garden. It always sounds so lovely and grown-up, and every now and then I manage it, but in reality I cook in one of two ways: I make the same thing over and over again, because I'm busy and it's easy, or I read a recipe in a magazine or cookbook or blog and am possessed by a sacred fire to make that thing, right now, whether or not strawberries are in season or I can buy duck breasts at my local supermarket. Sometimes I manage to curb this by bookmarking the recipe (my recipe books are full of brightly coloured flags, and I have thousands of recipes tagged on delicious). Other times nothing will put me off. This macaroni cheese was one of those times.
The first mac and cheese I ever made came from a recipe in (I think) an Australian magazine, and I can no longer find it. I know it involved gruyere, and was delicious, and I've mourned the loss of that recipe for approximately eight years. Like everyone else, I have made and loved Martha Stewart's crack and cheese, to which I always add caramelized onions. I don't think either of these is the perfect mac and cheese, and neither is this one, although all are fantastic and basically, if we were ever to pronounce one recipe perfect, we'd miss out on the fun of aiming for the ideal. Because there is an ideal, Platonic macaroni cheese out there somewhere, I'm sure of it.
This one is bloody good, though. I added caramelized onion to mine, with plenty to serve on the side, because everything tastes better with caramelized onion, especially creamy cheese and pasta. I also added sharp cheddar to bump up the cheese factor and, instead of breadcrumbs, used crumbs from these stilton biscuits. But only because I had them already. I didn't make them specially.
mustard and fontina macaroni cheese
adapted from Nigel Slater, The Kitchen Diaries
1 onion
2 tbsp olive oil
3/4 lb macaroni, penne, or other small pasta
5 cups half-and-half (or milk, or cream)
2 bay leaves
1/2 cup all-purpose (plain) flour
a dash of nutmeg
sea salt & freshly ground black pepper
5oz Fontina cheese
1 cup sharp cheddar cheese
3 tsp grain mustard
1 1/2 cups fresh white breadcrumbs*
5 tbsp grated pecorino cheese
Set the oven to 200ºC/400ºF.
Slice the onion into very thin wedges. Warm olive oil in a skillet, add the onion, and cook, covered, over low heat, for at least 20 minutes. If the onion starts to brown too much, add more olive oil.
Cook the pasta in plenty of boiling salted water until it is almost tender, approximately 8 minutes. Take care not to overcook; the pasta will cook more in the oven. Drain immediately.
Meanwhile, warm the half-and-half in a saucepan with the bay leaves. When it comes to the boil, remove from the heat. Melt the butter in another pan. When it begins to bubble, add the flour and cook, stirring, over a moderate heat, until it is a pale paste. Gradually pour in the milk and whisk until smooth, then simmer over a low heat, stirring regularly, until slightly thickened.
Season the white sauce with pepper, salt, and a dash of nutmeg. Dice the cheeses and stir into the sauce along with the pasta and caramelized onion. Tip the mixture into the gratin dish. Toss the breadcrumbs with the grated pecorino and scatter over the top. Bake for 35 to 40 minutes.
October 7, 2010
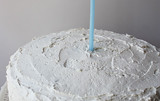
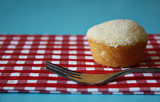
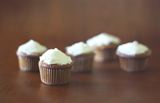
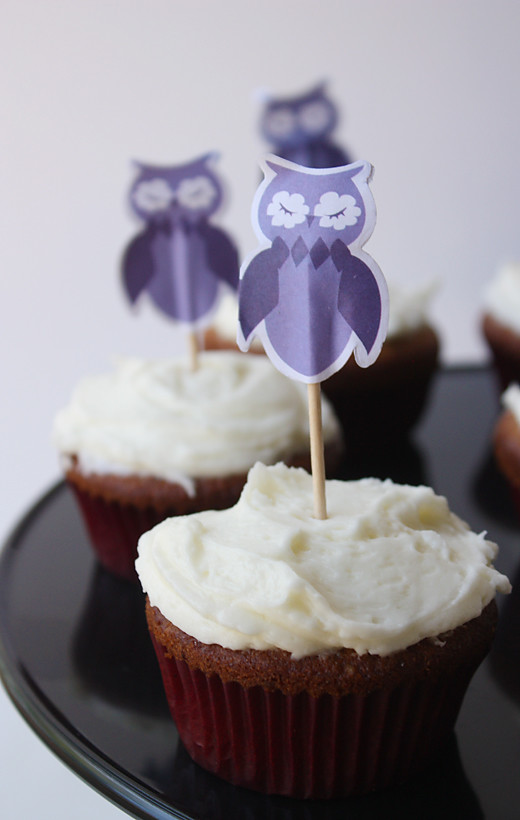
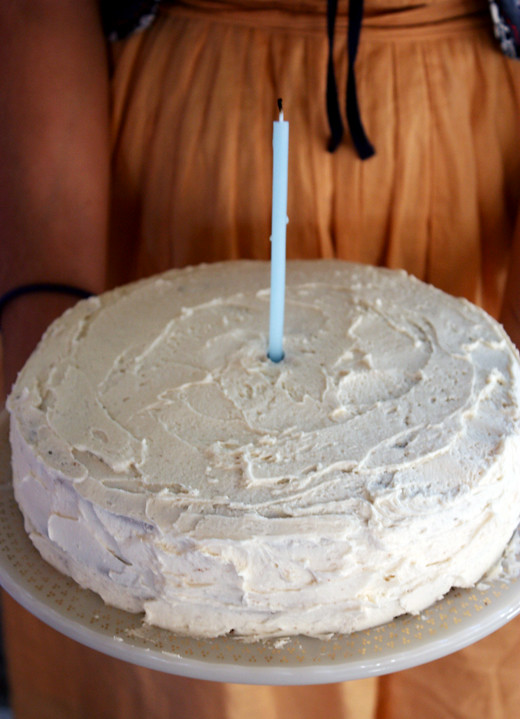
chocolate layer cake with vanilla cream frosting

I love making birthday cakes for other people, and this was for one of the sweetest people I know. I knew I wanted a classic cake that would look simple and beautiful, and taste incredible. So I turned to Mark Bittman; this seemed like a job for the minimalist. I'm not sure that I'll ever need to try another chocolate birthday cake recipe - this one, to me, is perfect. It's fluffy and moist, tastes richly of chocolate, but is still reminiscent (in all the best ways) of packet mix chocolate cake, and isn't much harder to make. There's just a few tweaks that make this cake really special: using good quality unsweetened chocolate, and whisking the egg whites to snowy peaks before carefully folding them in to the cake batter.
I choose to ice it with a simple vanilla buttercream frosting, also from Bittman, because I like the sneaky element of this cake: on the outside it looks all snowy and pure, but really it's just being coy; inside, it's absolutely chocolate. Of course, you could make the frosting chocolate too, by adding melted and cooled unsweetened chocolate, or beating unsweetened cocoa in with the sugar, but I like the simplicity of the vanilla cream.


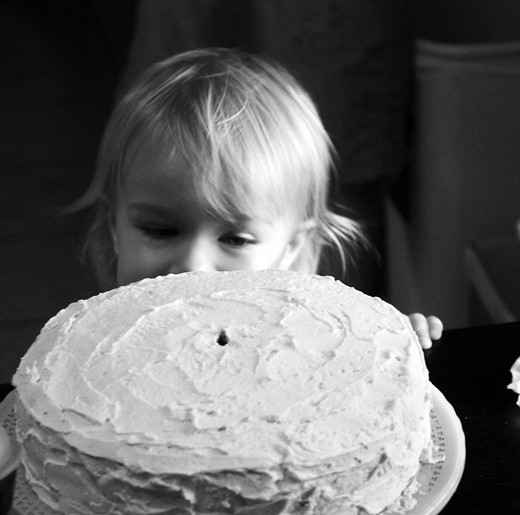
I only had time for a few quick photos of the cake at home, before taking it along to the birthday party it was made for. I couldn't resist posting this one of my cat checking out the photo set-up...

chocolate layer cake with vanilla cream frosting
from Mark Bittman, How to Cook Everything
8 tbsp (1 stick) unsalted butter, softened, plus some for greasing the pans and the paper
2 cups (9 oz) cake or all-purpose (plain) flour, plus some for dusting the pans
3 oz unsweetened chocolate, roughly chopped
1 cup sugar
2 eggs, separated
1 tsp vanilla extract
2 tsp baking powder
1/2 tsp baking soda
1/2 tsp salt
1 1/4 cups milk
Preheat the oven to 350ºF/180ºC. Butter the bottom and sides of two 9 inch layer cake pans; cover the bottom with a circle of waxed/parchment/baking paper, butter the paper, and sift flour over the pans; invert to remove excess flour.
Melt the chocolate in a small saucepan or double boiler. If in a saucepan, cook over very low heat, stirring occasionally. If in a double boiler, cook over hot (not boiling) water, stirring occasionally. When the chocolate is just about melted, remove from the heat and continue to stir until mixture is smooth.
Use an electric mixer to cream the butter until smooth, then gradually add the sugar. Beat until light and fluffy, 3 or 4 minutes. Beat in the egg yolks, one at a time, then the vanilla, and finally the chocolate. In a separate bowl, mix together the flour, baking powder, baking soda, and salt, and add them to the chocolate mixture by hand, a little at a time, alternating with the milk. Stir until smooth, no longer.
Beat the egg whites until they hold soft peaks. Use your hand or a rubber spatula to fold them gently but thoroughly into the batter. Turn it into the cake pans and bake for about 30 minutes, or until a toothpick inserted into the centre of the cakes comes out clean. Cool on a rack for 5 minutes, then invert onto a rack and complete cooling. Don't frost the cakes until they are completely cool. The un-frosted cakes may be stored, covered with plastic wrap, at room temperature for no longer than a day.
vanilla butter cream frosting
adapted from Mark Bittman, How to Cook Everything
Makes enough frosting and filling for 1 (9-inch) layer cake, or 24 cupcakes.
8 tbsp (1 stick) salted butter, softened*
4 cups confectioner's/icing sugar
6 tbsp cream or milk (preferably cream), plus a little more if needed
2 tsp vanilla extract
Use a fork or electric mixer to cream the butter. Gradually work in the sugar, alternating with the cream and beating well after each addition. Stir in the vanilla. If the frosting is too thick to spread, add a little more cream. If it is too thin, refrigerate: it will thicken as the butter hardens.
* The only difference between Mark Bittman's recipe and what I did with this frosting is that I used salted butter. I always use salted butter for frosting, and I think it improves the flavour about 100%.
October 2, 2010
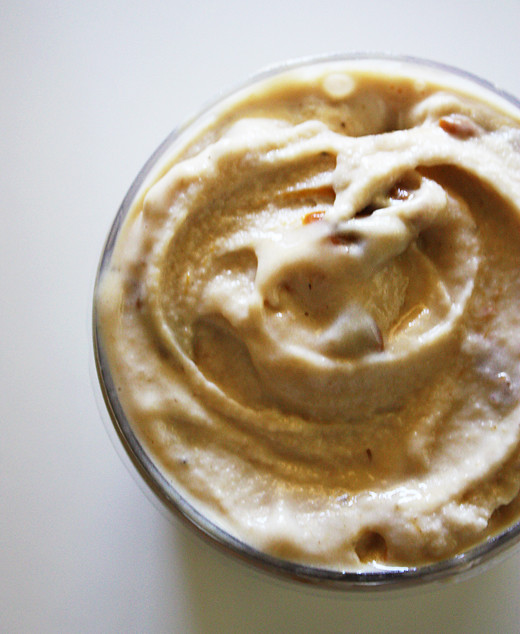
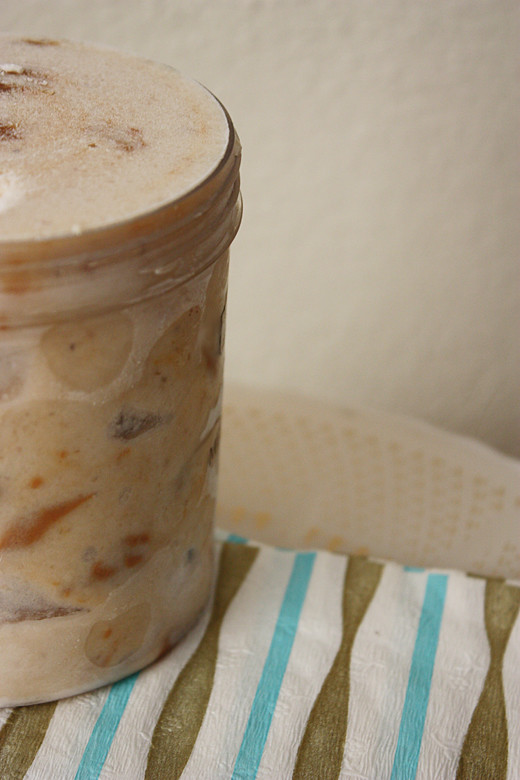
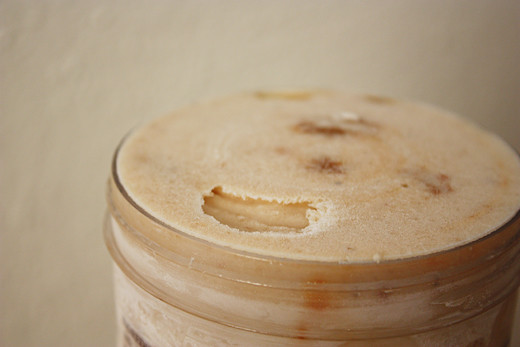
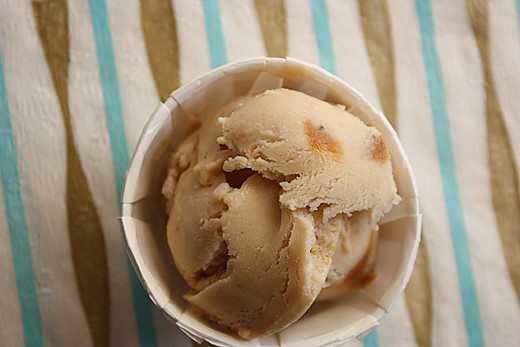
roasted banana ice cream with dulce de leche
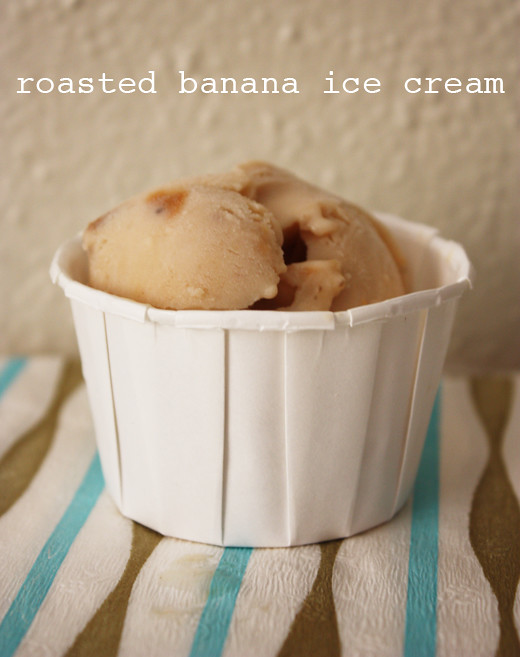
Two weeks ago, in a moment of midnight weakness, I ordered an ice cream machine, mainly because I'd just found this recipe for roasted banana ice cream. Bananas roasted with brown sugar and butter until all their sweet goodness comes out in a sticky syrup; no eggs or cream required, because the consistency of the bananas themselves does all the work; and, as a final touch, globs of dulce de leche stirred in. The result is a complex caramel flavour, not too sweet, and worth buying an ice cream maker for.
roasted banana ice cream with dulce de leche
adapted from Mike's Table
3 ripe bananas
1/3 cup brown sugar
1 tbsp butter
1.5 cups whole milk
2 tbsp sugar
1/2 tsp vanilla extract
juice of 1/2 lemon
1/4 tsp salt
1/4 cup dulce de leche (optional)
* You will need to begin this recipe a day before you plan to eat it.
Preheat oven to 400ºF / 200ºC. Slice bananas into coins. In a baking dish, mix bananas with brown sugar and butter, and bake for 40 minutes, stirring once. Allow to cool slightly.
Scrape the contents of the pan - bananas and sticky caramelized syrup - into a food processor or blender. Add milk, sugar, lemon and salt and puree until smooth. Cover and refrigerate for a few hours.
Once the mixture is cool, churn in an ice cream maker following the manufacturer's instructions for between 15 and 20 minutes.
After churning, mix through globs of dulce de leche. Transfer to a freezer-safe container and freeze overnight to achieve the right consistency.
Subscribe to:
Posts (Atom)

